
Hello! It is my turn to bring you the Repeat Impressions Project of the Week and I chose to do the Distress Bokeh technique for you.
Bokeh is a photography term and is often most visible around small background highlights, such as specular reflections and light sources, which is why it is often associated with such areas. However, bokeh is not limited to highlights; blur occurs in all out-of-focus regions of the image.
I wanted to try this technique using Distress Inks and a White Pigment ink. I gathered some supplies:

I gathered some of my favorite Repeat Impression Stamps, a variety of Distress Inks/Daubers, White Pigment Ink, a stencil with holes (you could make your own using dies) and some white cardstock.
First, I added the ink to the cardstock. I wasn't too worried about getting a perfect blend as I will be covering most of it in the next step.


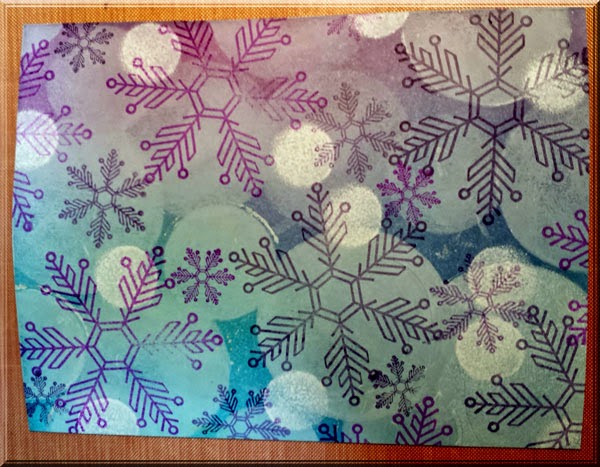
Next, I used the White Pigment ink and stencil to add random dots all over the backgrounds. You can use a sponge or a dauber, but I preferred to just use my finger for this part. I covered most of the purple background but went a bit less with the dots on my yellow background. After all of the larger dots were added, I used a finger dauber to add the smaller white dots which represent the brighter bits of light showing through the blurred backgrounds.

I stamped the Repeat Impressions Large Snowflake #8917 and Snowflake Cluster #8805 in various shades of purple. I know, you are thinking snowflakes, isn't it Spring? These snowflake stamps are some of my favorites and this background just called out for them :) Plus, it actually snowed a bit a little higher up today and that is a good thing for us here in California right now.
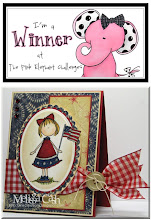
Here are my finished cards:

I stamped the Repeat Impressions Large Dragonfly #4401-O and Happy Everything #3104-
F in black ink and finished it off the card with some Diamond Stickles and enamel dots.

I stamped the snowflakes in a variety of purple inks from my stash and added the Snowmen Fall #4601-H sentiment, stamped in black. For a finishing touch on this one, I added a punched snowflake and some enamel dots.
I hope you will give this technique a try, it is quite fun and very easy to make several at one time.


1 Comments Click Here To Comment:
Melissa, this is a great technique, and you're cards are stunning!
Post a Comment